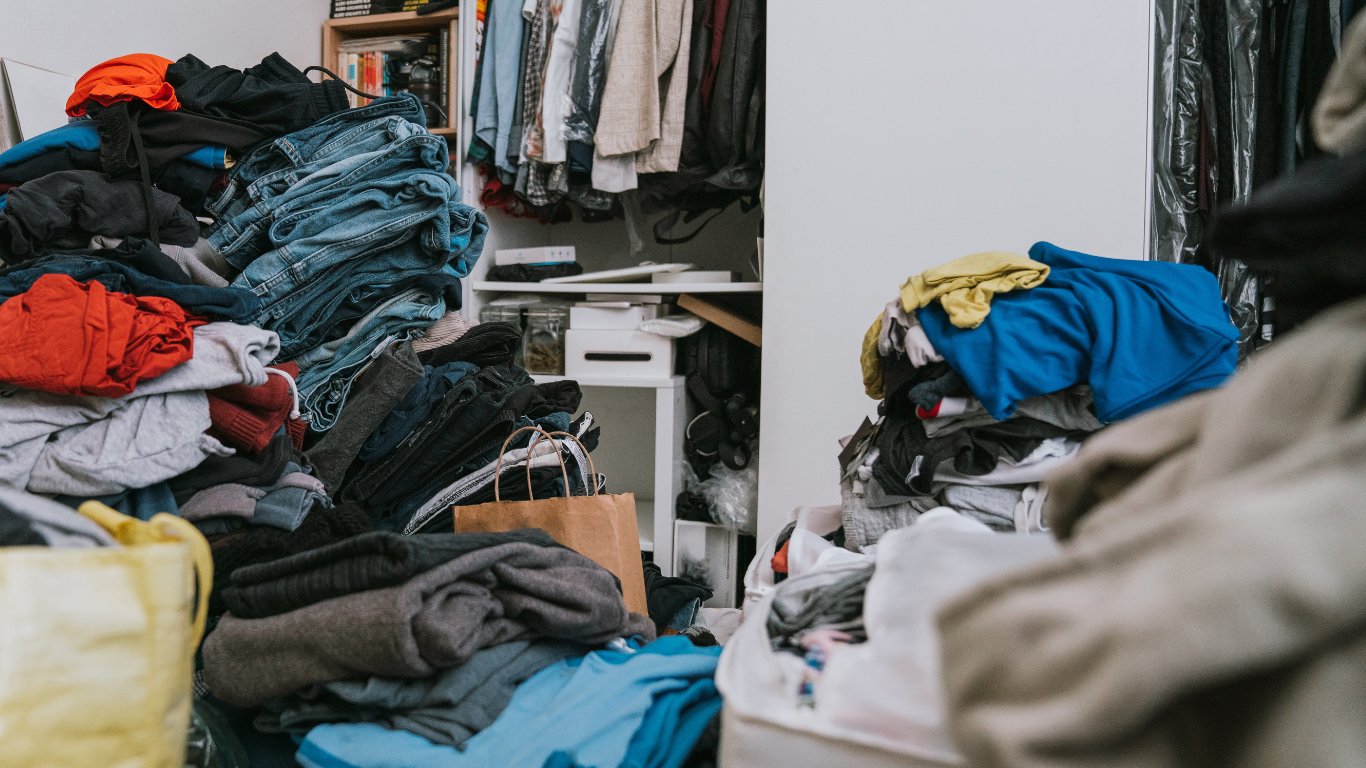
How to Restore a Safe Livable Home Step by Step with Hoarding Cleanup and Deep Cleaning
When a home has become overwhelmed by clutter, trash, or hazardous waste, “cleaning” isn’t just about appearances. It’s about safety, health, and getting daily life back. The good news is that restoring a livable space is possible, even when it feels too far gone.
This step-by-step guide explains the process of hoarding cleanup and deep cleaning realistically. This will include how to conduct a risk assessment and determine when professional help will be required.
Step 1: Start with safety (before you touch anything)
Before you even start moving anything around, stop for a moment and look for warning signs that could turn what seems to be an “easy cleaning task” into something potentially very hazardous.
Watch for:
- Biological hazards (blood, bodily fluids, used sharps, soiled bedding)
- Strong, persistent odors that may signal decomposition, mold, or heavy contamination
- Animal waste (urine/feces, nesting materials, insects)
- Signs of drug contamination (unknown powders, chemical smells)
- Structural or fire risks (blocked exits, overloaded outlets, unstable stacks)
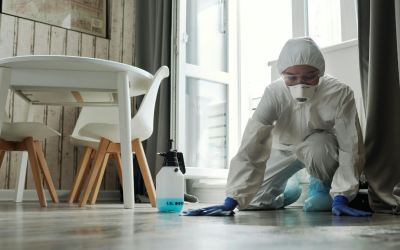
If you suspect a biohazard, don’t “power through.” Services like Biohazard Cleanup, Blood Cleanup, Infectious Disease Decontamination, Animal Waste Cleanup, Meth Lab Cleanup, and Odor Removal & Deodorization exist for a reason: they address contamination safely and thoroughly.
Step 2: Make a realistic plan for hoarding cleanup and deep cleaning
A common mistake is trying to do everything in one weekend. A better approach is to divide the home into zones and set a clear order of operations. In most cases, you’ll get the fastest progress by restoring “life-support” spaces first.
Prioritize in this order:
- Secure entrance and exit points (main door, hallway, emergency paths)
- Bathroom (sanitation and access to clean water)
- Kitchen (safety, pest control, waste management)
- Bedroom (clean bedding, fresh air)
- Living areas (comfort and functionality)
Set simple goals per session, like “clear a 3-foot walkway,” or “empty one corner to the floor.” Progress you can measure is progress you can repeat.
Step 3: Sort strategically, keep, donate, trash, and hazardous
Sorting is usually where people get stuck when cleaning up their hoard. Keep things simple and uniform.
Have four categories:
- Keep: items you actively use or truly need
- Donate: usable items in good condition
- Trash: broken, expired, soiled, or unsafe items
- Hazardous/unknown: sharps, chemicals, suspicious residue, or anything contaminated
Two very useful guidelines include refraining from unsealing any closed bag (because some of these bags may contain waste material) and not saving items to make your decision at a later time unless they go into a designated box. Evidence of blood or other body fluids indicates that further action is needed.
Step 4: Remove trash and contaminated materials first
Deep cleaning will not be effective if waste is present. Begin by removing litter, expired food products, and anything that cannot be cleaned (contaminated mattresses, wet carpets, contaminated fabric).
This is also the phase where you may uncover situations that require specialized cleanup, such as:
- Unattended Death Cleanup (decomposition odors or fluids)
- Homicide & Suicide Cleanup or Traffic Accident Cleanup (blood and trauma-related biohazards)
- Homeless Encampment Cleanup conditions (mixed waste, sharps, heavy contamination)
These situations are where professional teams are trained to handle biohazard removal and minimize risks, particularly for family members, tenants, and property managers.
Step 5: Do a “pre-clean” to reveal what you’re really dealing with
When surfaces begin to show, conduct a preliminary cleaning before deep cleaning. This process will help identify stains, damage, pest infestations, and odors.
Focus on:
- Sweeping/vacuuming loose debris
- Wiping down reachable surfaces with an appropriate cleaner
- Pulling appliances slightly away from walls (only if safe) to check buildup
- Opening windows briefly for ventilation when conditions allow
If you notice a lingering smoke smell, Cigarette Smoke Removal can be part of the plan. If the odor appears pet-related, you may need targeted Pet Odor Removal in addition to Animal Waste Cleanup.
Step 6: Deep clean room-by-room (top to bottom)
Deep cleaning is most effective when done in a regular pattern, starting from the top ceiling/walls to the surface and finally the floor. This ensures that dirt doesn’t ruin the cleaning process.
Kitchen
In hoarding situations, kitchens often have layered grease, spoiled food, and pest attractants. Empty and sanitize the refrigerator, clean inside cabinets, and disinfect counters and sinks. If you’re dealing with contamination that could spread illness, Infectious Disease Decontamination may be appropriate depending on conditions.
Bathroom
Bathrooms need good sanitization. Clean and sanitize toilets, bathtubs, and sinks. Also, be careful with the grout, baseboards, and areas behind toilets since dirt may accumulate there. For heavily contaminated bathrooms, consider Biohazard Cleanup for restoration.
Bedrooms and living spaces
Wash salvageable fabrics, wipe hard surfaces, and vacuum thoroughly. If you can’t eliminate odor after cleaning, it may be trapped in porous materials or in the air itself. This is where Odor Removal & Deodorization and Indoor Air Quality Management become important.
Step 7: Treat odors at the source (not just with fragrance)
The odor may be the biggest hurdle to making the home livable once more. Fragrances will only cover up the smell. The key is to eliminate the odor’s cause and then remove the odor.
Common odor sources include:
- Animal urine in the subfloor and padding (Pet Odor Removal may be necessary)
- Smoke stains in the walls and vent systems (Cigarette Smoke Removal may be needed)
- Decomposition or bio-hazard contamination (Unattended Death Cleanup and Odor Removal & Deodorization may be necessary)
- Hidden waste in furniture or piles (often addressed during Hoarding Cleanup and Animal Waste Cleanup)
If the atmosphere still seems ‘heavy’ despite efforts to clean it, one may try Indoor Air Quality Management.
Step 8: Know when to bring in specialized cleanup help
There are times when it is wise to get help from an expert rather than doing things yourself. When you come across blood, bodily fluids, strange substances, or even accidents, it is better to stop whatever you are doing and consult the experts.
Clean Keepers handles more than just regular cleaning. We also cover:
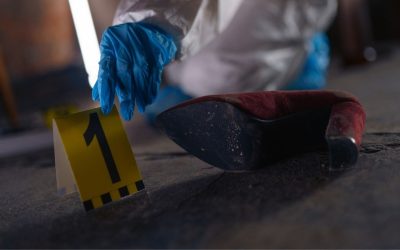
- Crime Scene Cleanup
- Fingerprint Dust Cleanup
- Tear Gas Cleanup
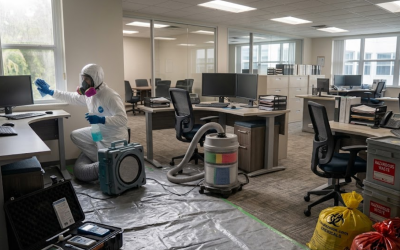
- Commercial & Industrial Biohazard Cleanup
We’re here for all your special cleaning needs.
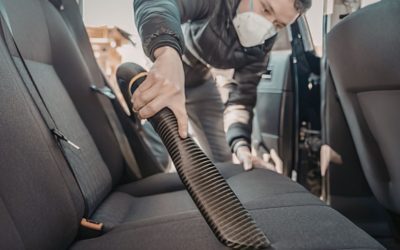
Even vehicles can be impacted during major life events. If a car has odors, waste, or contamination, Automobile Cleaning can help restore it to a usable condition.
Step 9: Rebuild simple systems to keep the home livable
After the home is safe and clean, the next goal is to prevent backsliding. You don’t need a perfect organization system, just a sustainable one.
Try these practical resets:
- Keep walkways clear and exits unblocked
- Place a small “inbox” box in each room for things without a proper place
- Pick up for 10 minutes each day
- Establish a weekly trash-out and laundry schedule
If smells start to return, address them right away. The longer the contamination lasts, the harder it becomes to fix.
Restoring a safe, livable home is rarely a one-step process. It involves a series of smart actions: protect yourself, remove hazards, clear the space, do a deep clean, and address odors properly. With a steady plan and the right help for biohazards or heavy contamination, you can turn a tough situation into a home that feels safe again. At Clean Keepers, we’re here to help you every step of the way. Contact us today to restore your home.
To stay current with us, please follow our Facebook page.